


Congratulations on your purchase of Meetio Room! In this guide, you will find all information on how to get started with your new software.
But before you set up your Meetio Admin account, we recommend you make sure you have all your calendar system settings in order:
If you need help, please click on the specific guide relevant to you depending on your calendar system. This will give you detailed instructions on how to create a service account and rooms.
If you haven’t done so already, you need to register an account at https://admin.getmeetio.com/register. Only one person per organization should register an account as this person will be registering the organization as well. You can invite more administrators after your account is created).
Log in to Meetio Admin or create a new account for your company by clicking “Register”
When you log in for the first time, you will see a dashboard and be asked to go through the first part of the setup. It is highly recommended that you go through the steps, but you can always close the page and come back to it later.
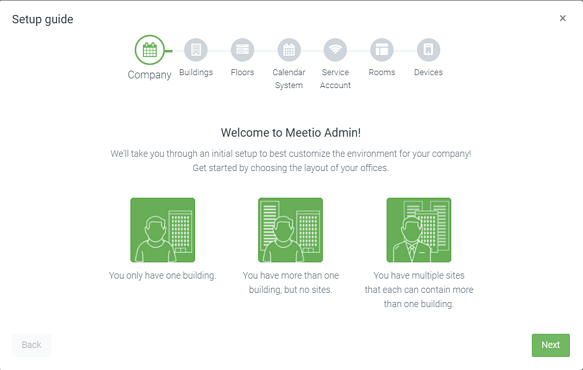
On the first step, you will be asked if you have one building, more than one building but no sites, or multiple sites with multiple buildings. You don’t need to map out your whole organization right now, you can always add buildings and sites at a later point. These features are mainly for our Meetio Desk product, but you will need to create at least one building to add rooms.
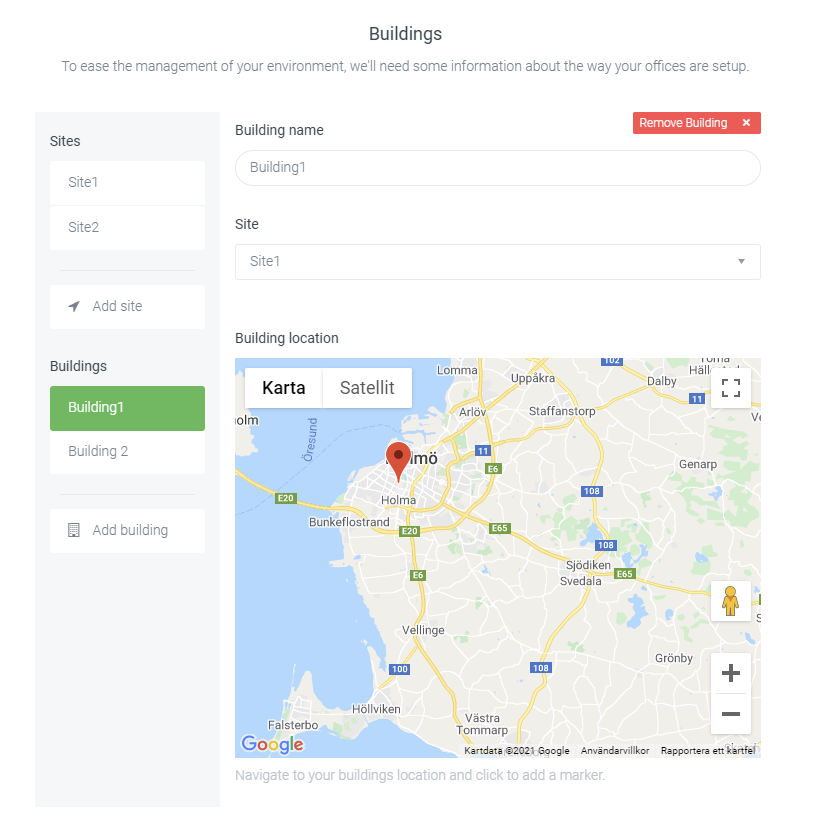
In the next step, you will create and name your sites/buildings. If you have sites, you will also have to pick a parent site for each building. As an optional step, you can also point out your buildings on Google Maps .
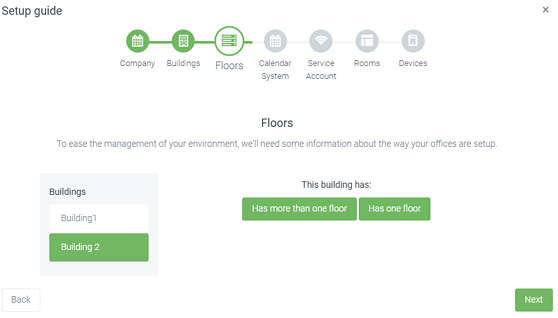
The next step will ask you to create floors in your buildings.
The next step asks if you would like to fill in technical details (i.e. service account credentials, room resources, and device serial numbers). You can click “No, fill this in later” to end the setup guide, but then you will have to manually go to “Connection”, “Rooms” and “Devices to add these details at a later point. It's therefore recommended that you do it right away.
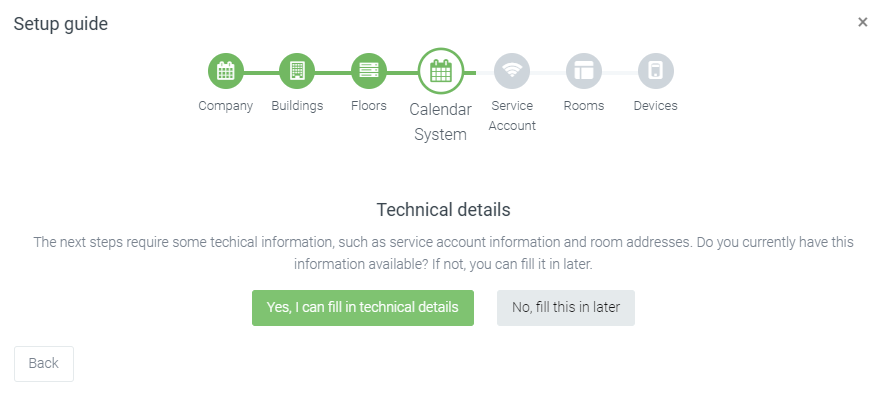
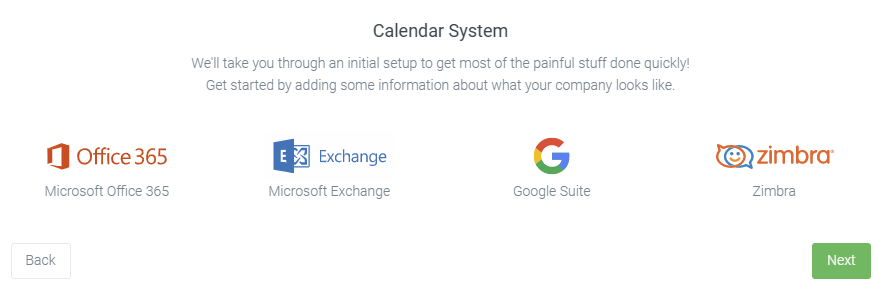
If you click “Yes, I can fill in technical details”, you will be prompted to select your calendar system. Select the correct one and click next. Fill in the required details depending on which calendar system and authentication method you have chosen.
The next step will require you to create/import your rooms.
If you are using Exchange or Office 365 Basic Authentication, then you will manually have to add the rooms one by one.
If you are using Google Calendar, then the rooms will automatically show up and you can select which ones to import (please note that it does not work to manually create rooms for Google)
If you are using Office 365 Modern Authentication and you have created a room list, then they can be automatically imported. Otherwise, you can create them manually.
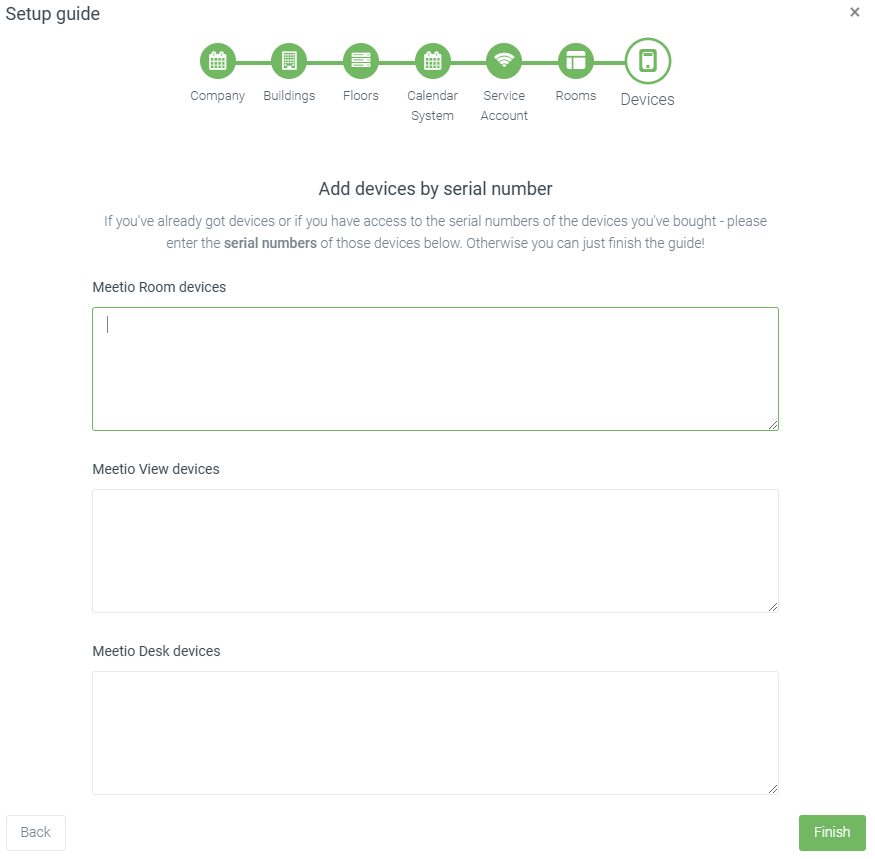
The last step will ask you to add your devices’ serial numbers. You can add multiple, one per line. Click "Finish" when you are done.
You have now completed the setup guide. Some next steps are:
Q. My Meetio Room device is not showing the meeting subject and/or showing the organizer name twice.
→ See this guide. Requires a PowerShell command to be run per room https://www.meetio.com/resources/guides/settings-room-resources-exchange
Q. I cannot find the rooms in Outlook’s “Room Finder”.
See all FAQs on our help pages.
Good luck with your setup!